Prerequisites: Before creating a product you’re should have;
- Logged in and have access to CGIC App inventory management role.
- Identified the Item Code of the product you want to update (e.g.
OVITA-500ML)
1. How to Update a Product
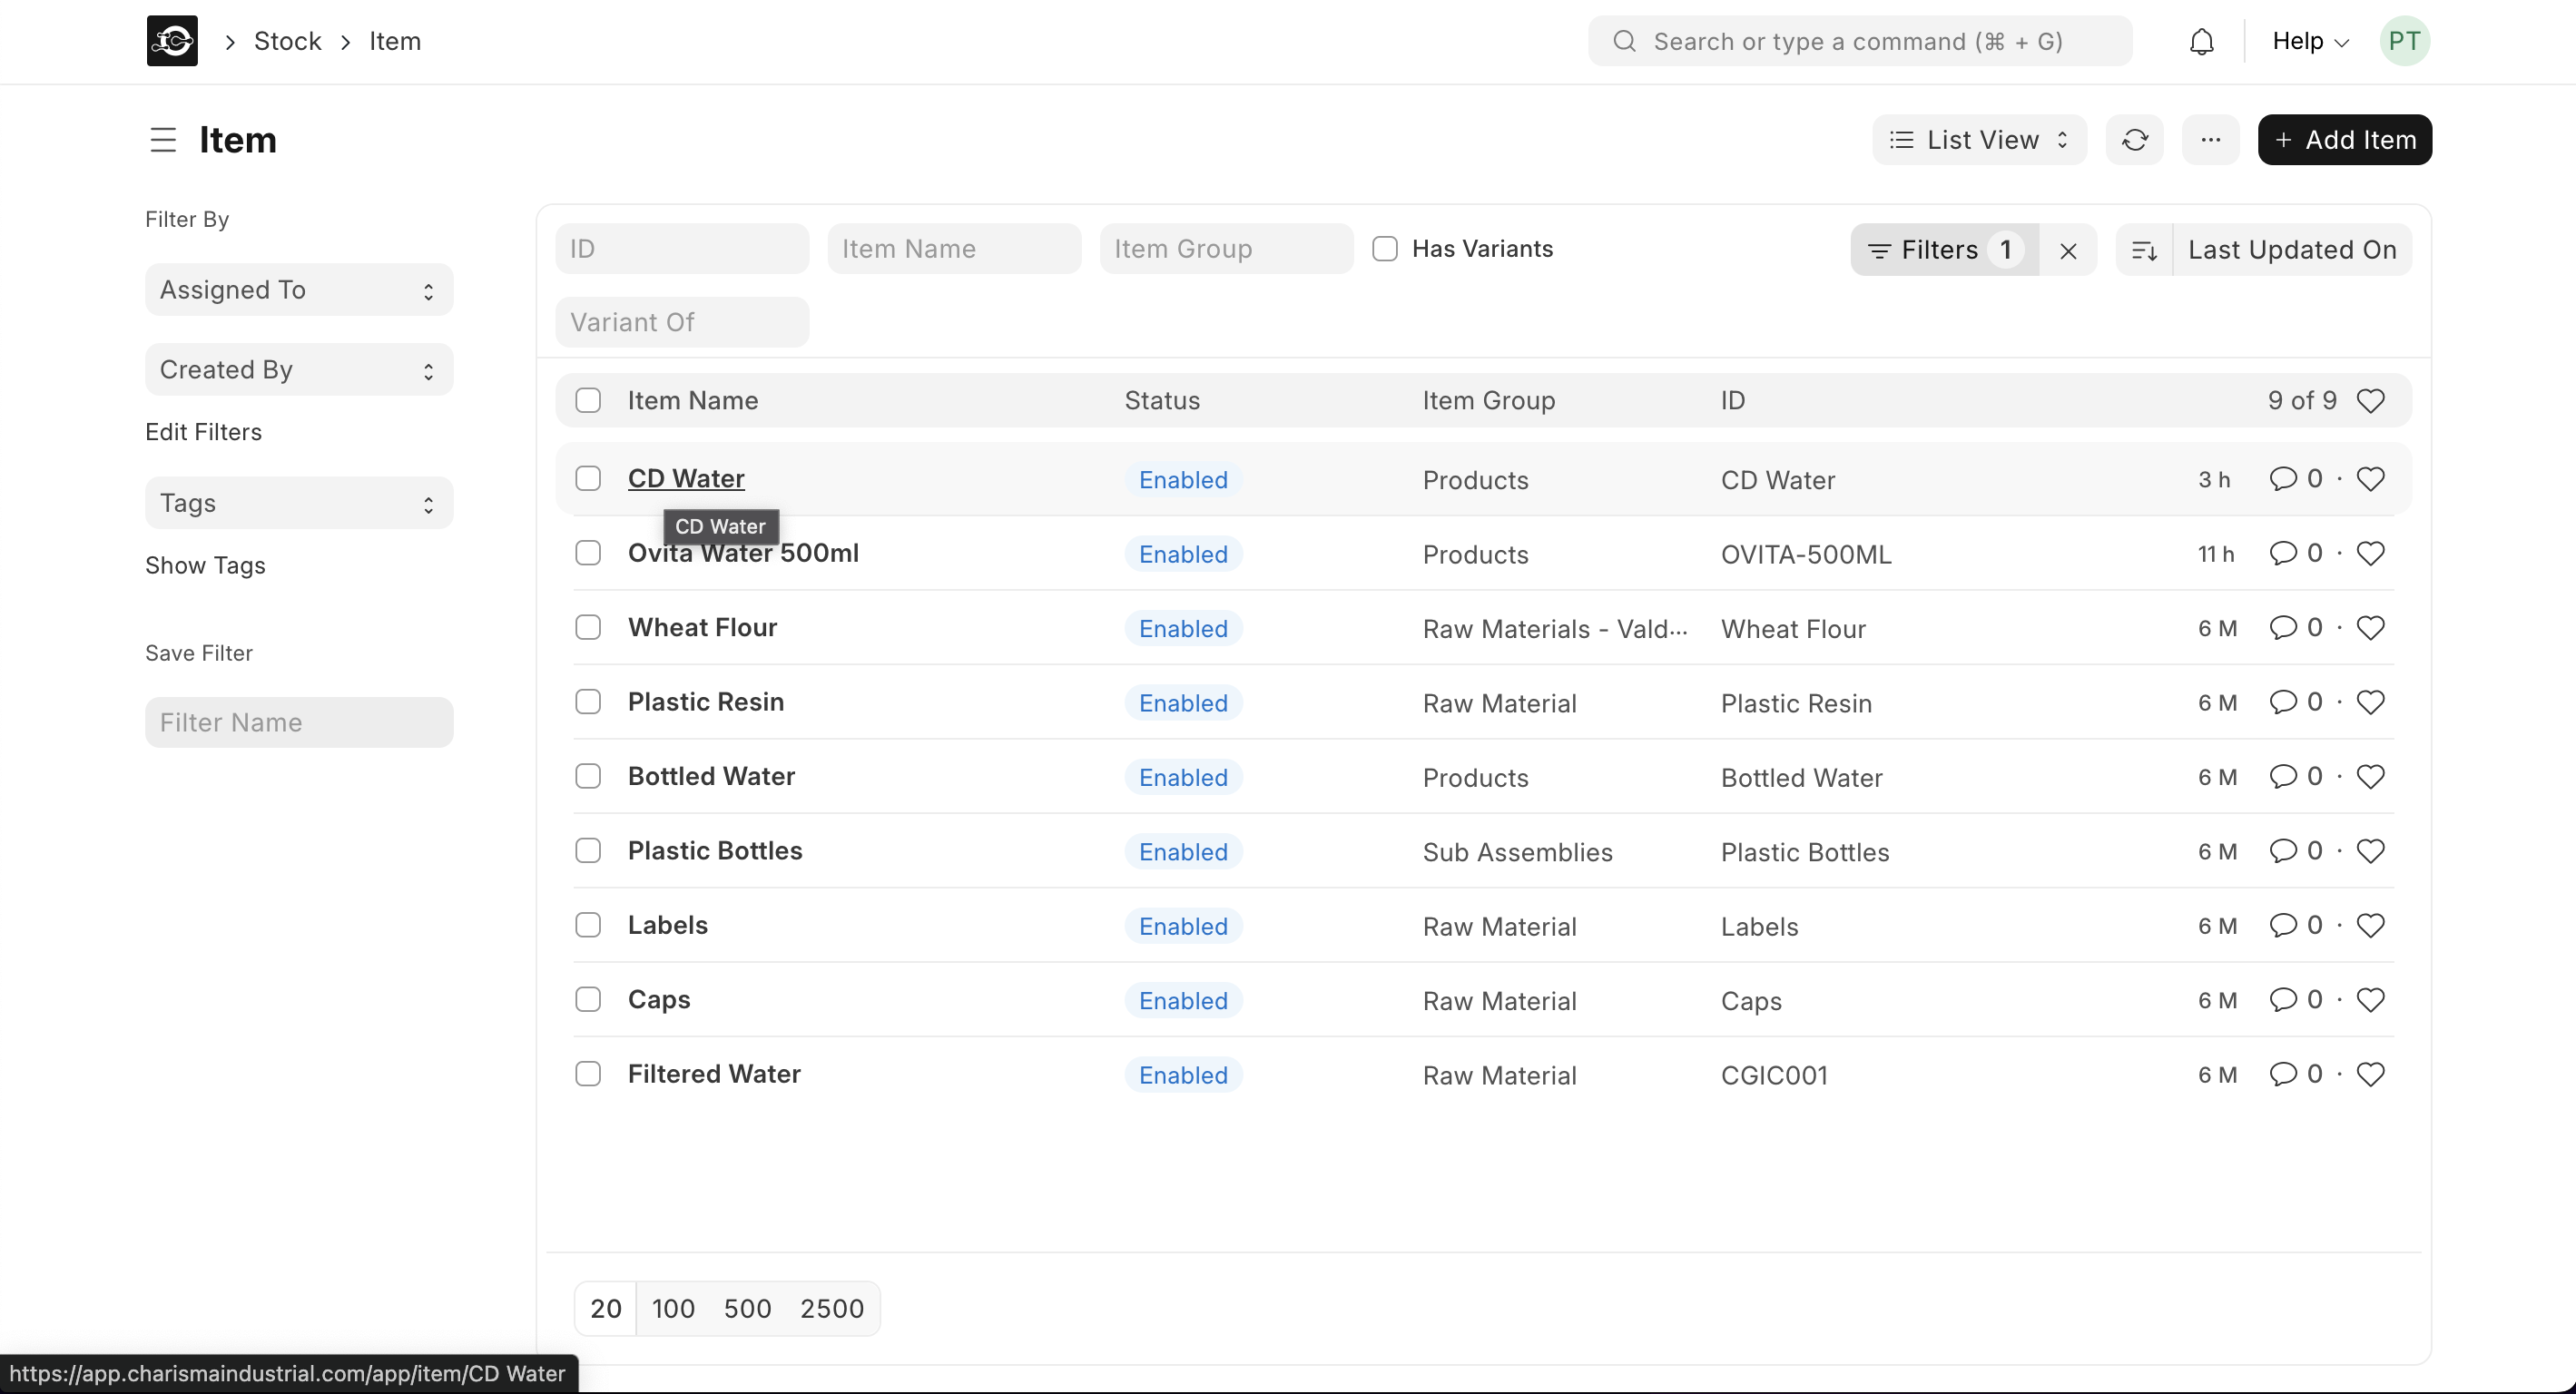
- From the home page, go to Stock ▶️ Item ▶️ Item List. On the Item list, click on new.
- Use the search bar, filters or scroll down to locate the Item Code.
- Click the item name to open its detail page.
- Update any fields you need—name, group, UOM, etc.
- Click Save in the top-right corner.
2. Key Fields You Can Update
| Field | What It Does |
|---|---|
| Item Name | Change how the product appears in dropdowns and reports. |
| Item Group | Re-categorize under a different product group. |
| Default UOM | Adjust how you measure and track inventory. |
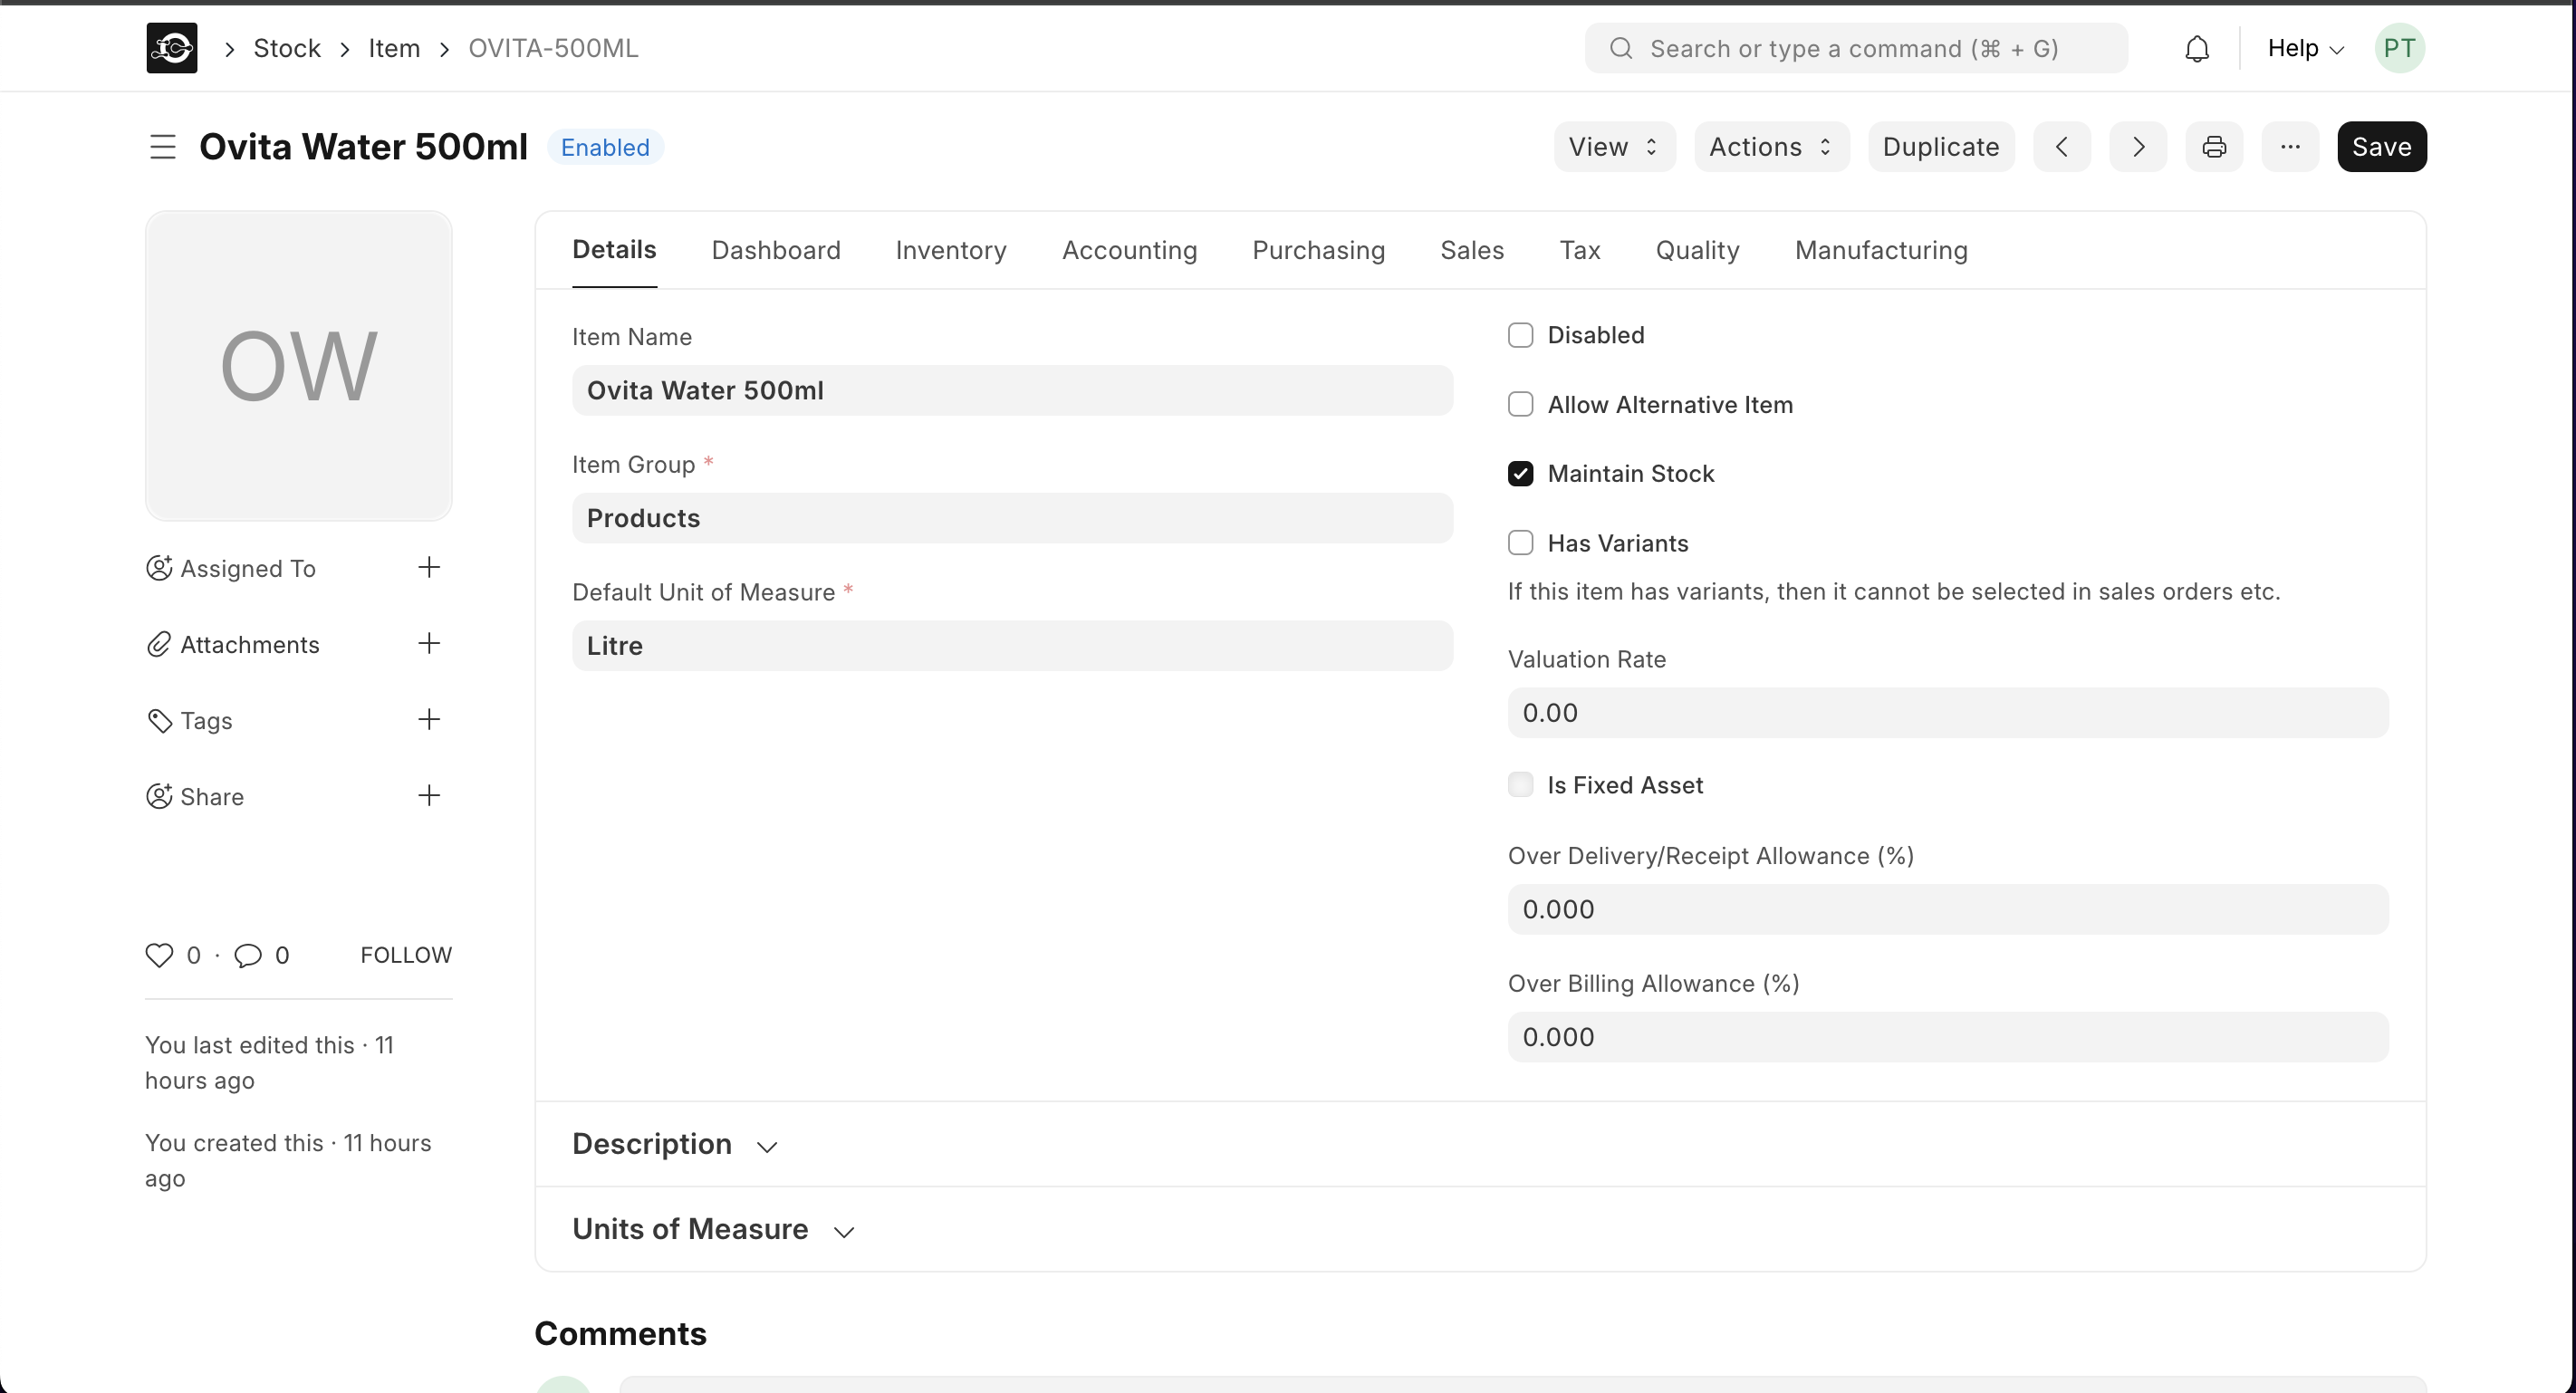
2.1 Advanced Options
- Disabled: Uncheck to reactivate an item that was previously disabled.
- Allow Alternative Item: Toggle to enable or disable substitution options in BOMs and production.
- Maintain Stock: Check or uncheck if you want CGIC App to track inventory movements for this item.
- Is Fixed Asset / Auto-Create Assets: Update if the product should be treated as a company asset and auto-created on purchase.
- Has Variants: Enable if this item comes in multiple variants (e.g., different sizes or colors). Once checked, you can define variant attributes and child items.
- Upload Image: Click Change on the image icon, then Upload, to swap in a new product photo.