Use a Stock Entry of type Material Transfer to move stock between stores or warehouses without impacting overall inventory value.Typical moves include:
| Transfer Type | Example |
|---|---|
| Store ➜ Store | Retail Outlet A → Retail Outlet B |
| Warehouse ➜ Warehouse | Central DC → Regional DC |
| Warehouse ➜ Store | Main Warehouse → Flagship Store |
Prerequisites:
* Source and Target Warehouses/Stores already exist in Stock ▸ Warehouse* Sufficient quantity available in the source location
* Source and Target Warehouses/Stores already exist in Stock ▸ Warehouse* Sufficient quantity available in the source location
Steps to Create a Transfer
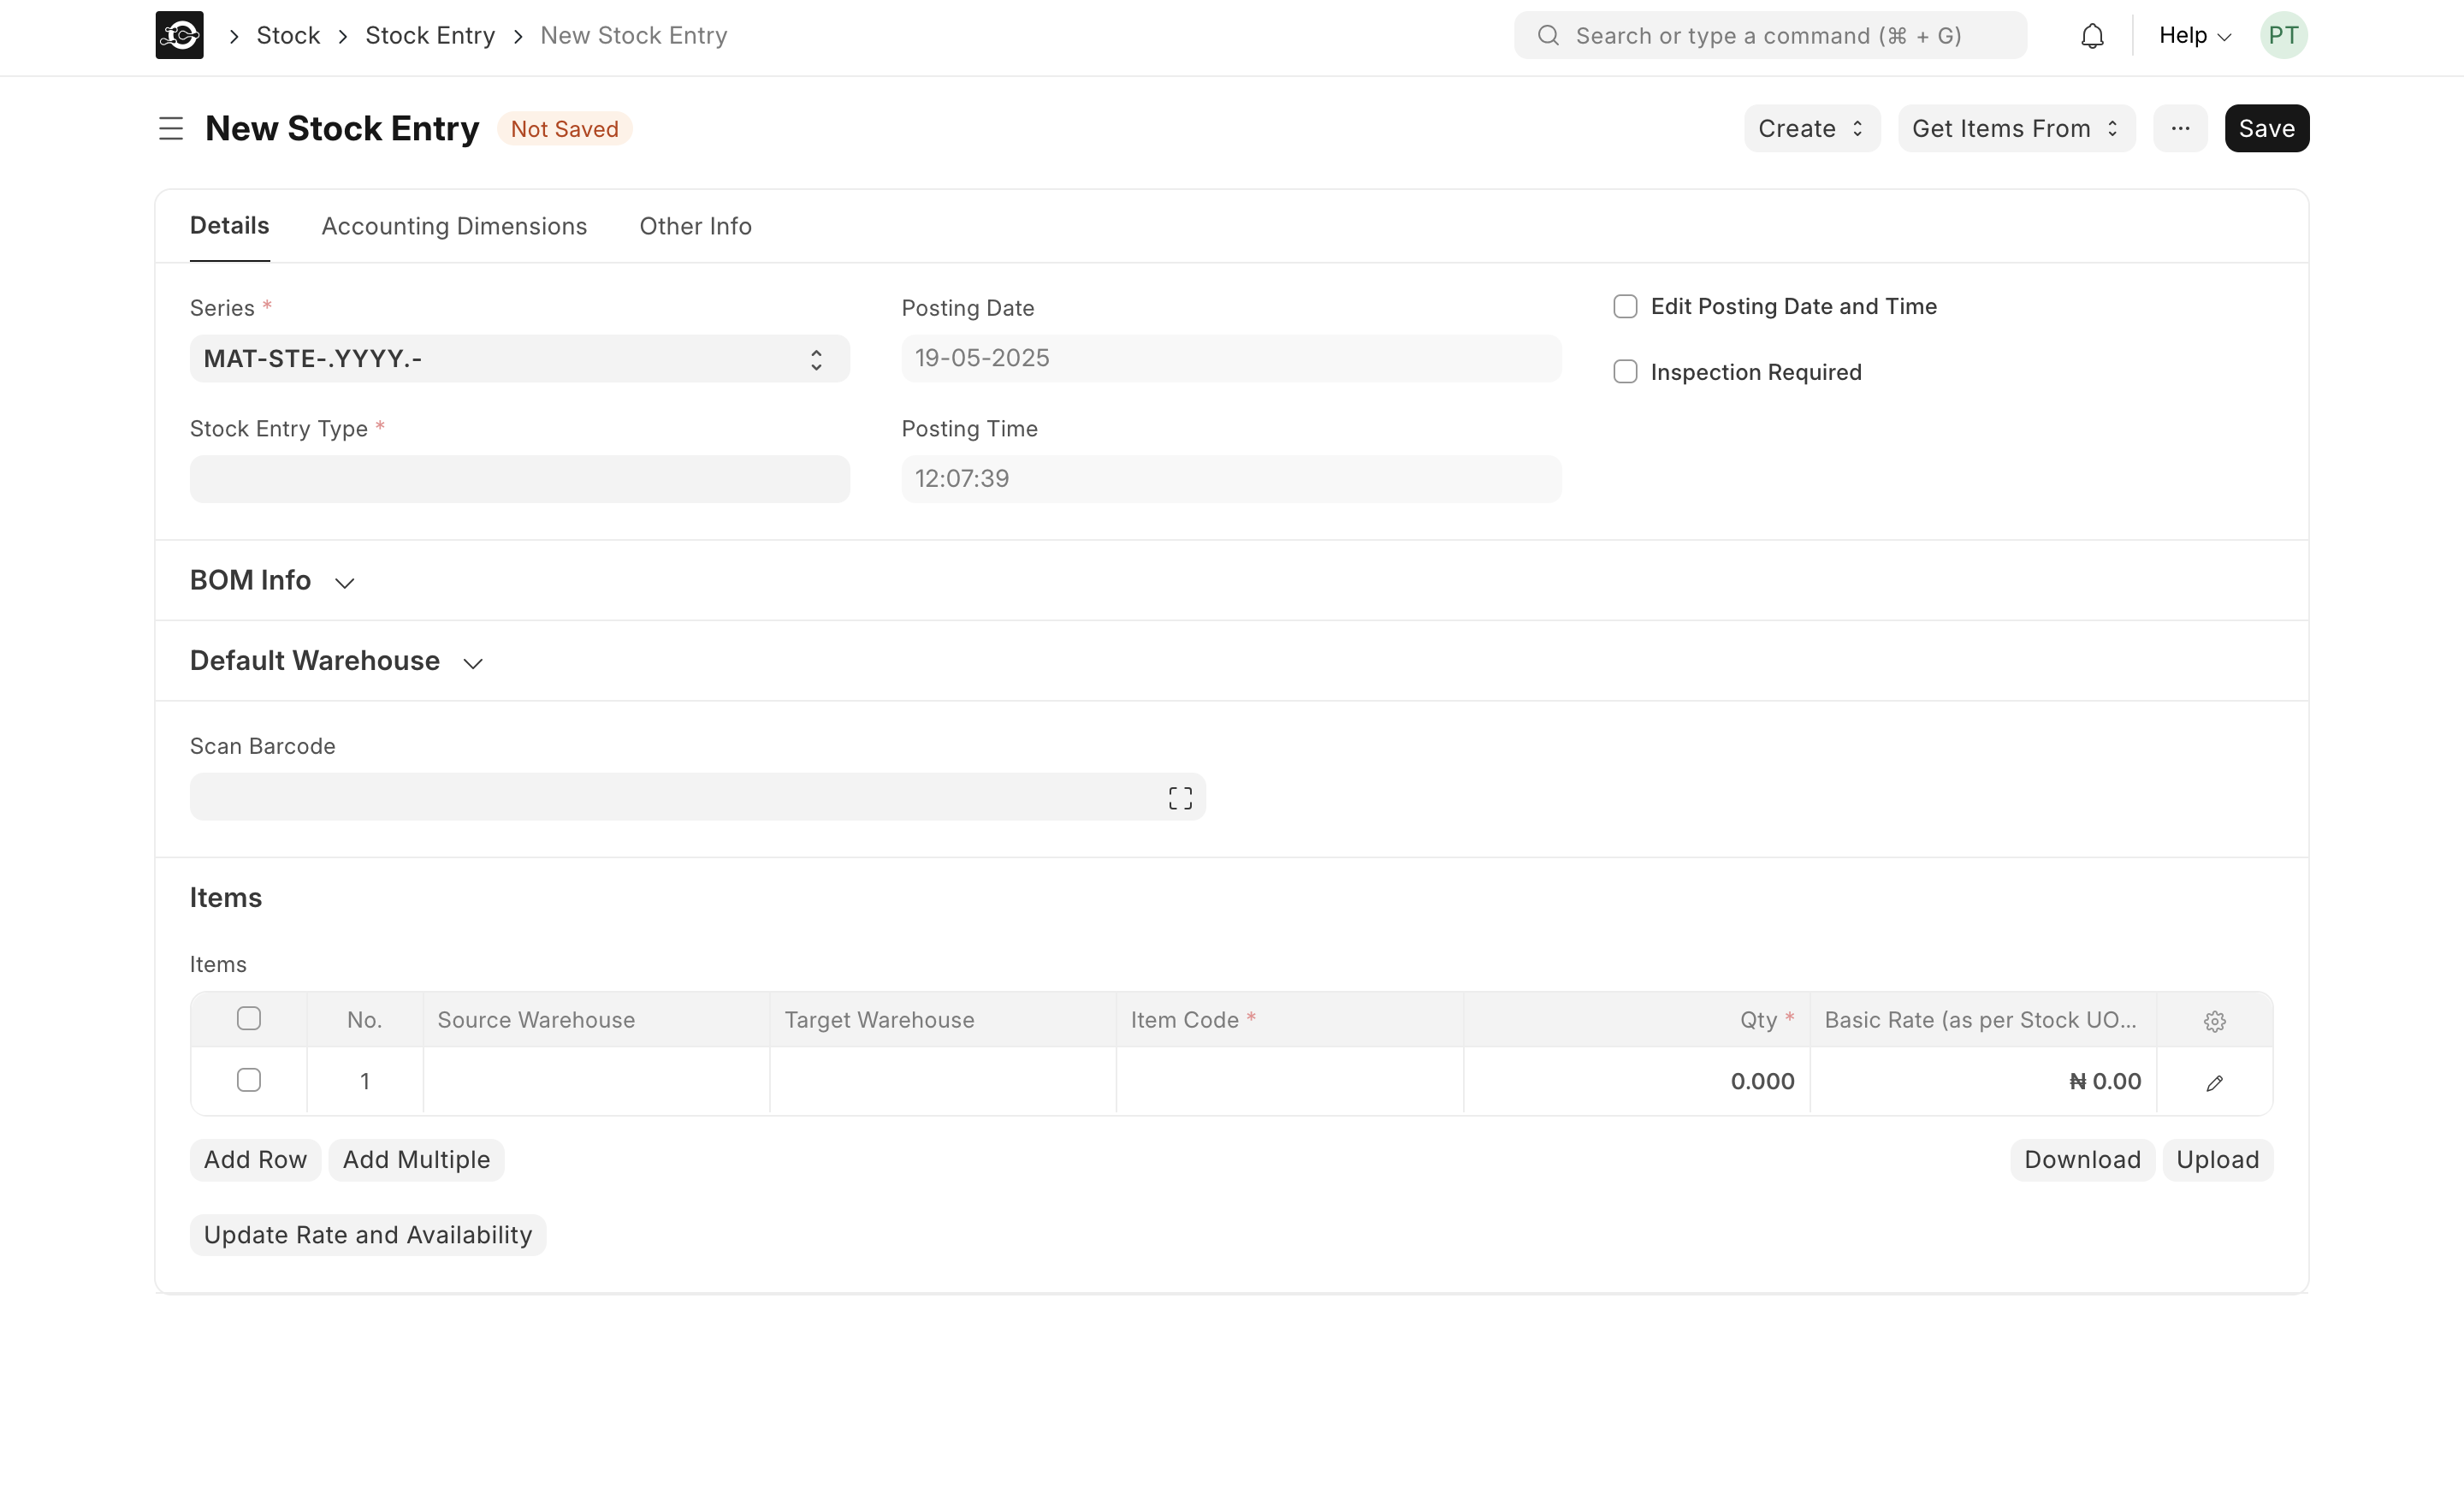
- Open a New Stock Entry
- Navigate to Stock ▶️ Stock Entry ▶️ New Stock Entry.
- Select Transfer Type
- In Stock Entry Type, choose Material Transfer.
- Confirm or adjust the Series, Posting Date, and Posting Time as needed.
- Add Items to Transfer
- Scroll to the Items table and click Add Row (or Add Multiple).
- For each row, fill in:
- Source Warehouse: where stock leaves
- Target Warehouse: where stock arrives
- Item Code: select the product
- Qty: quantity to move
- Basic Rate: (auto-filled) cost per unit
- Update Rates & Availability (optional)
- Click Update Rate and Availability to refresh valuation and on-hand figures.
- Save & Submit
- Click Save in the top-right to draft your entry.
- Review your items, then click Submit to post the transfer.
Tips
Tips
- Barcode Scanning: Scan into the Scan Barcode field to speed up item entry.
- Draft Mode: Save as draft to review before final submission.
- In-Transit Tracking: Create an “In Transit” warehouse for long-haul moves.