To access the Item Group list, go to:
Home ▶️Stock ▶️ Item Group.
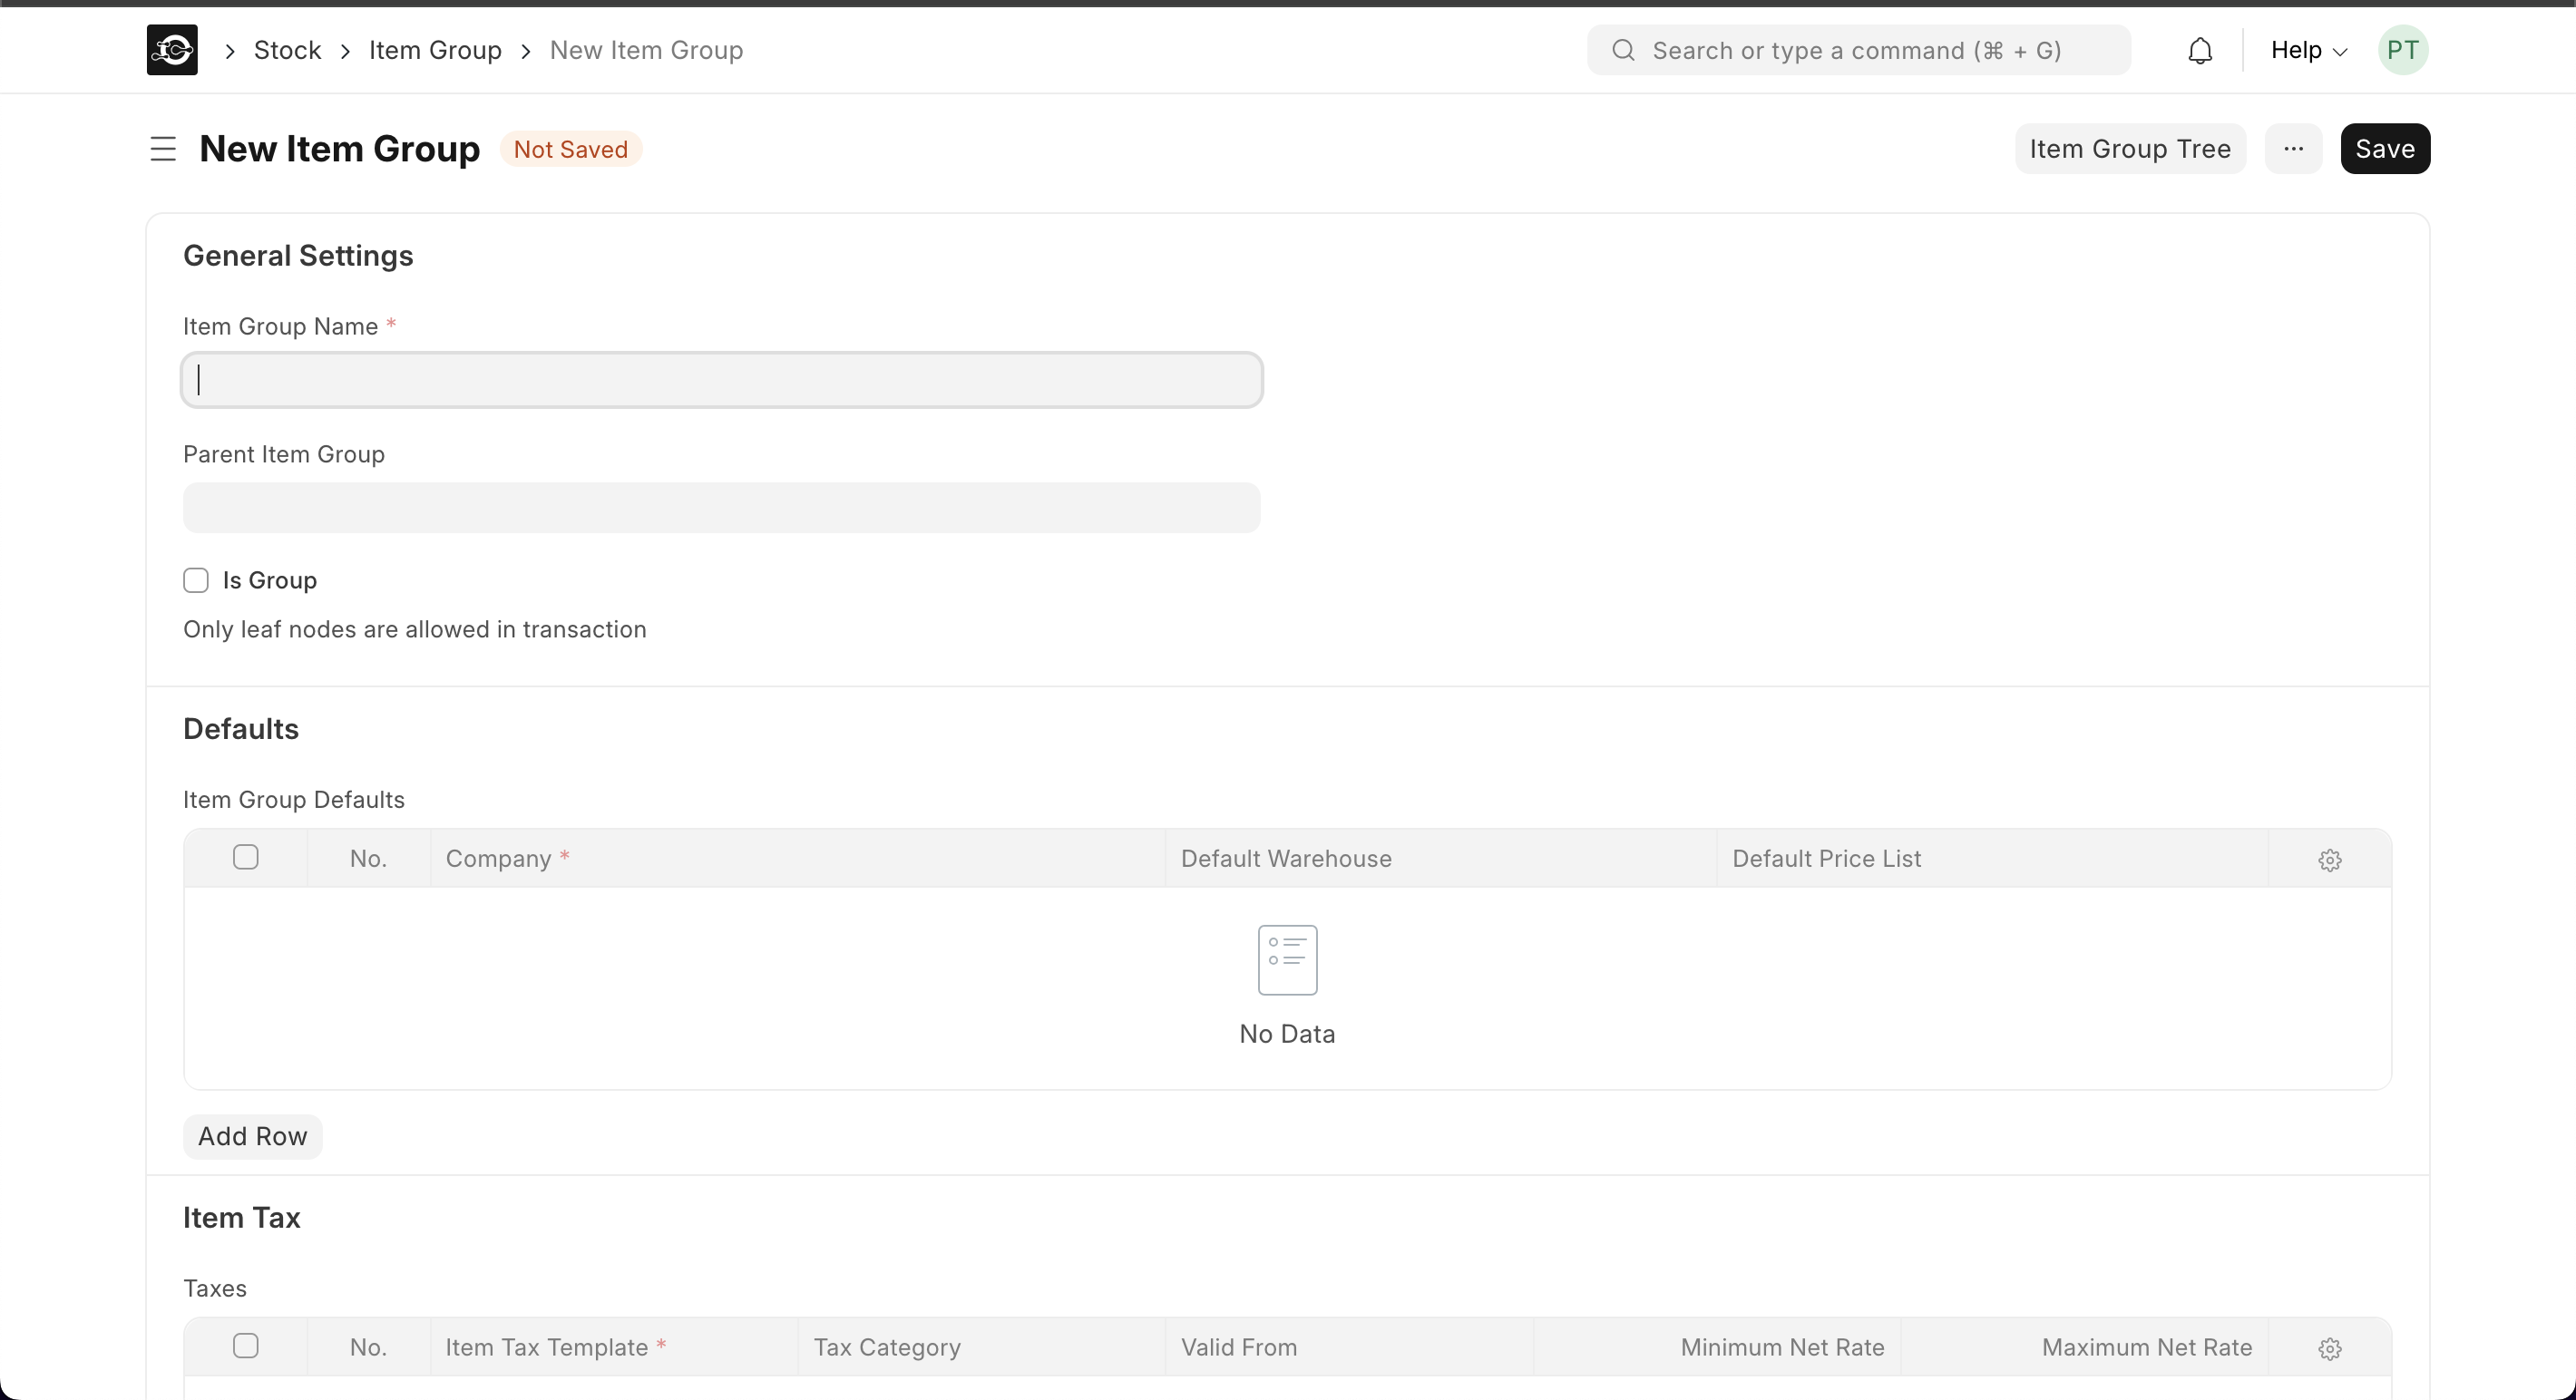
1. Creating a New Category
- Click**“Add Item Group** in the top-right corner.
- Enter Details
- Group Name: e.g. “Raw Material”
- Parent Group: choose an existing group or leave blank for a top-level category
- Is Group: ✔️ if this category will contain sub-groups; ❌ if this is a leaf category for items
- Save
- Click Save to add your new category.
2. Deleting a Category
Deleting a category will orphan or reassign its sub-groups and items. Proceed with caution.
- Select the Category
- In Item Group List, tick the checkbox next to the group.
- Actions ▶️ Delete
- Click Actions ▶️ Delete in the toolbar.
- Confirm
- Click Yes in the confirmation dialog.
Best Practices
- Hierarchical Structure: Use parent/child groups to reflect your business (e.g., “Beverages ▶️ Bottled Water”).
- Consistent Naming: Keep group names clear and concise for easy filtering.
- Archive vs. Delete: Disable groups (uncheck Is Group) before deleting to preserve historical data.
- Review Regularly: Periodically audit categories to remove or merge redundant groups.
With well-managed categories, you’ll improve product discoverability, inventory reporting, and overall system organization in your CGIC App.